Α lightweight fleece jacket is a very useful piece of clothing for hiking and trekking.

Its principal role is to offer the right balance of insulation (warmth) and moisture management to the upper body, while hiking in cold, wet & cold or cool conditions.

Not every type of fleece is suitable for the activity.

Wearing a bulky 300-weight fleece for instance (weight is measured in gr/m2 of fabric) we would be overheated, soaked in sweat and finally overcooled even when hiking in cold conditions.

Heavyweight fleece jackets are more suitable for rest breaks or for camp use but they are less thermally efficient for their weight than lightweight down and synthetic jackets that most of us use nowadays.

Moreover, it’s not designed to offer supreme protection against wind and rain. Models offering a fraction of such features are more likely to have breathability issues. With other words, it’s not ( and there’s not in general ) a piece of clothing that excels in everything.

Usage

On the other hand, a lightweight fleece jacket is an important part of the layering system and can be worn:

  • as an outer layer on top of a breathable hiking shirt/ baselayer.
  • as a mid-layer between the baselayer and a windaproof/waterproof shell, a down/synthetic jacket or both.

I personally use it as follows:

Cold conditions 

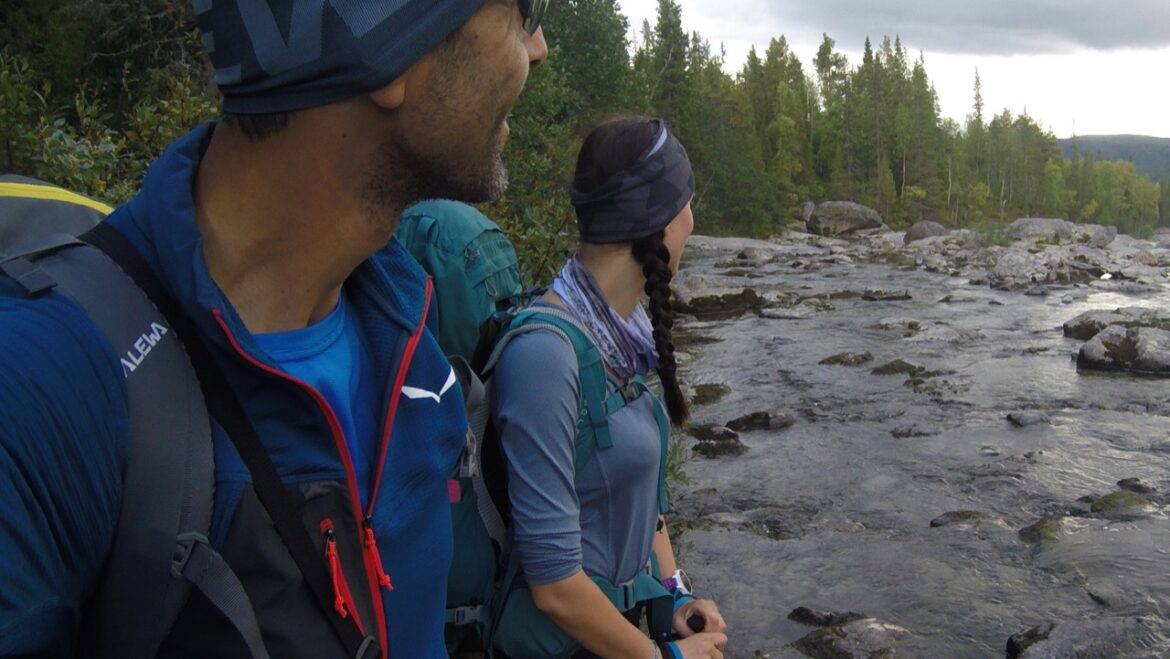
I usually wear it throughout the hike as an outer layer on top of my hiking shirt or as a midlayer ( when it’s windy) between the former and a light windproof shell ( eg rain jacket, softshell). When resting at camp I tend to wear it below my puffy jacket for extra insulation.

Wet & Cold conditions 

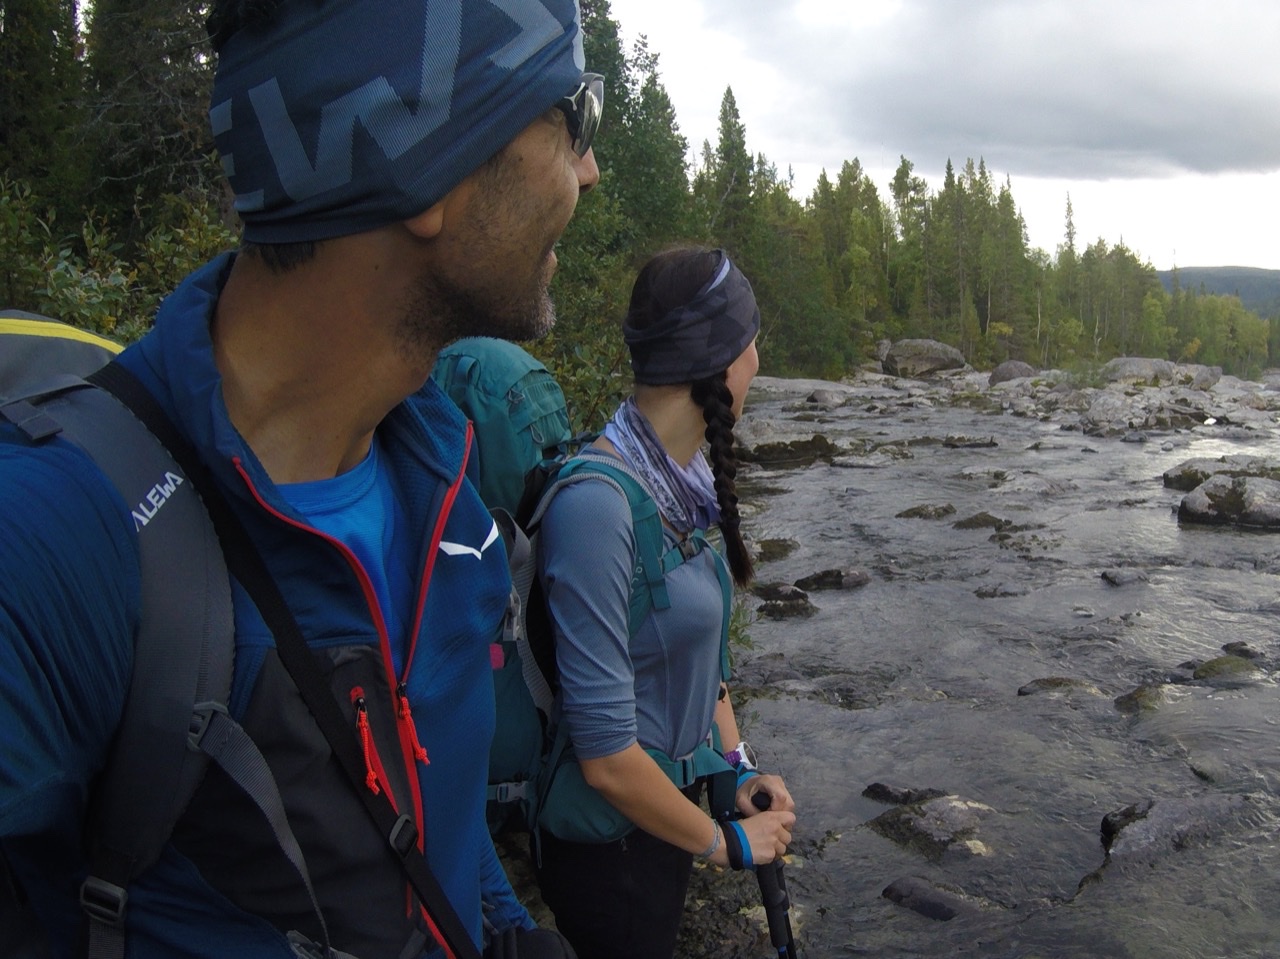
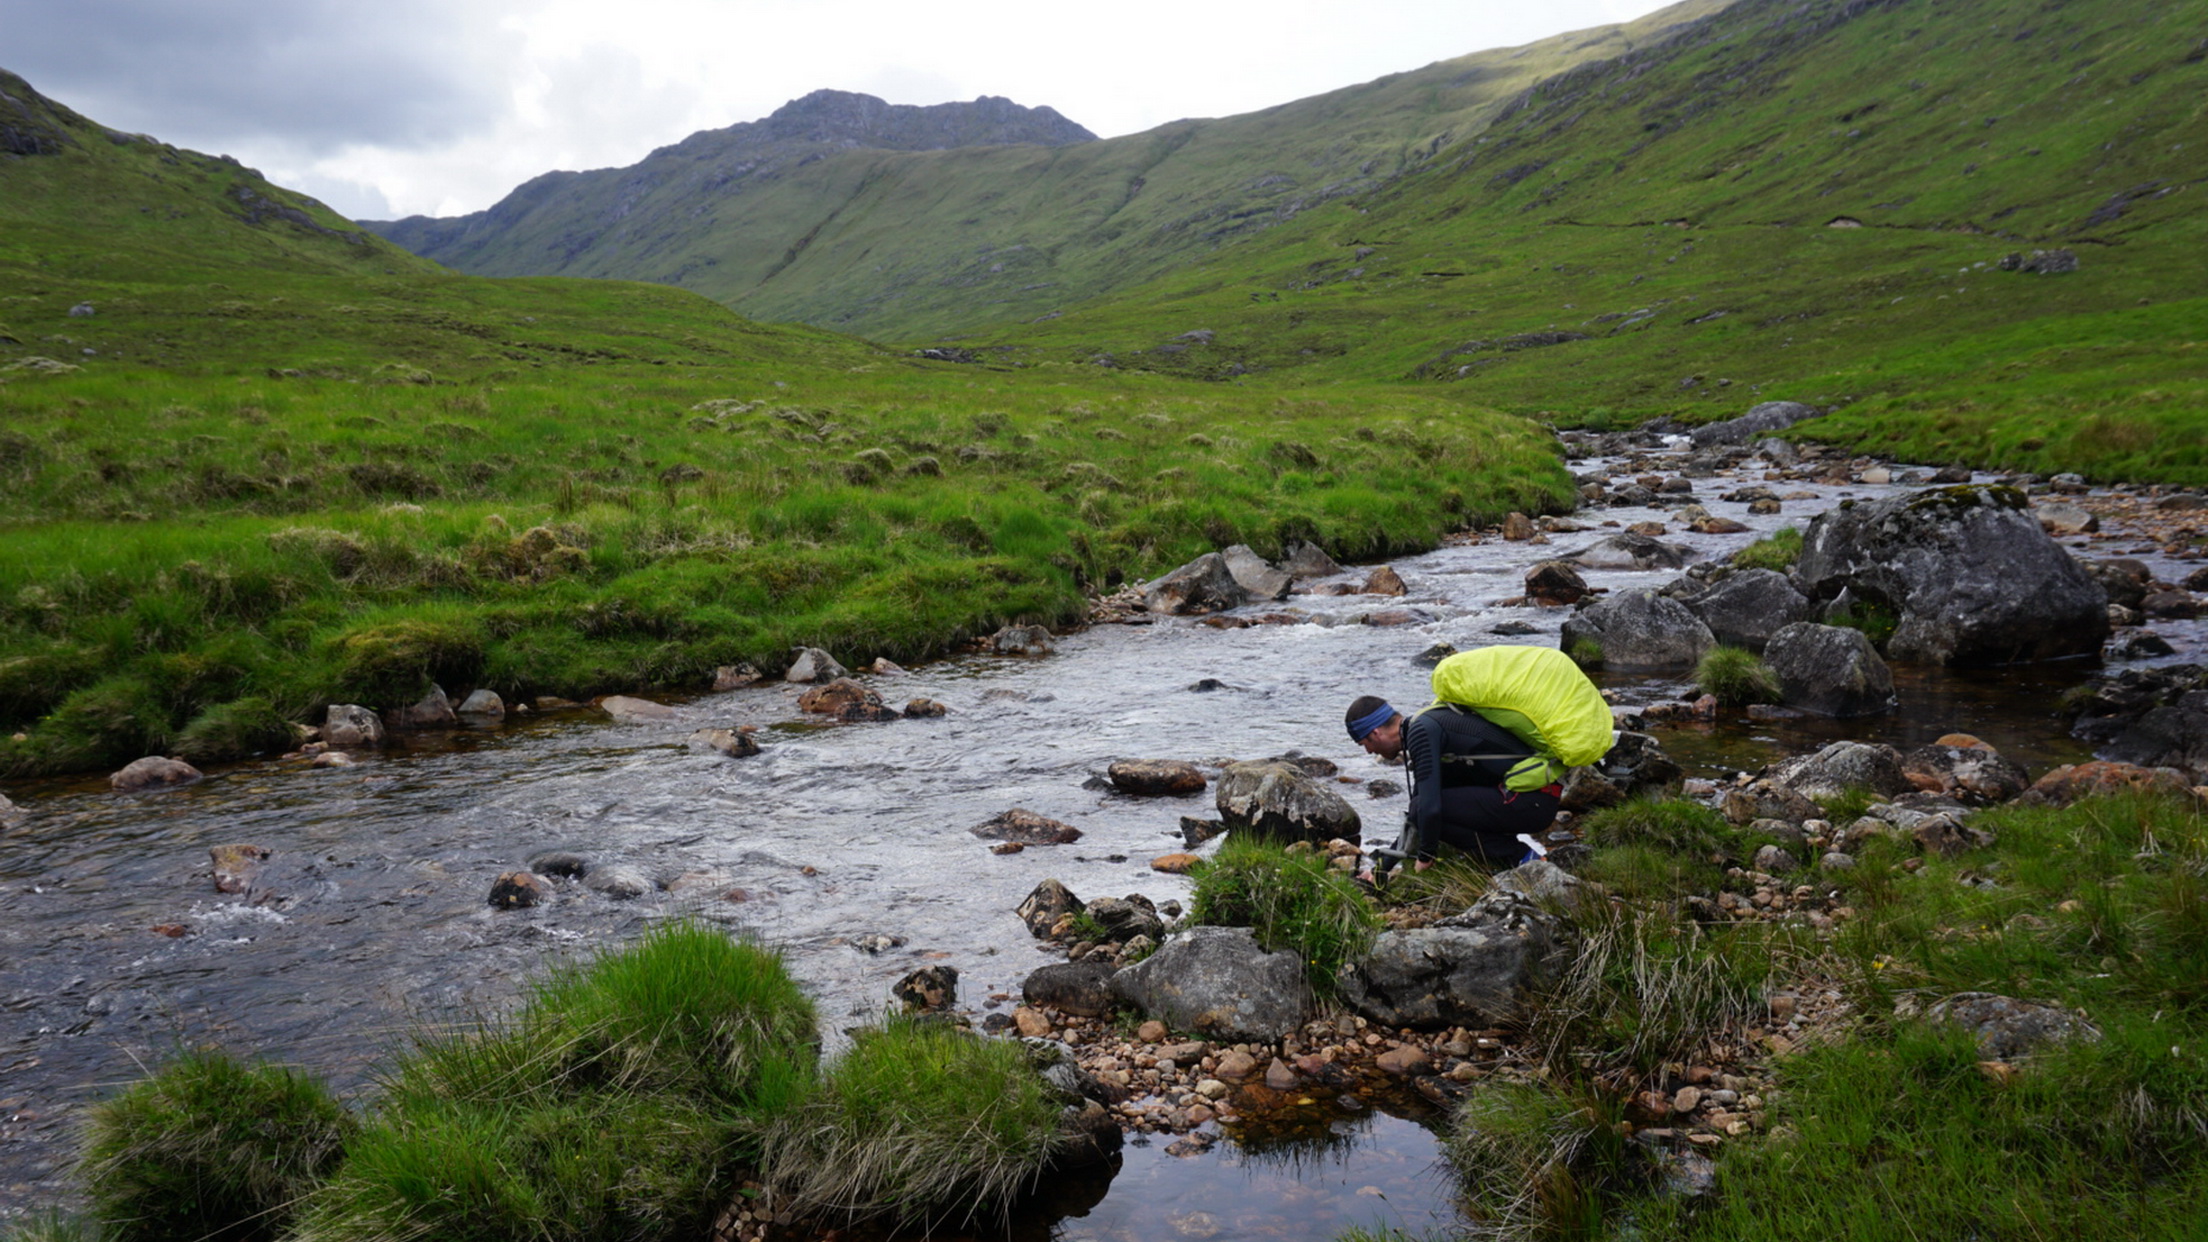
During wet and cold days I wear it as a midlayer between my hiking shirt and waterproof jacket. It keeps me dry and most importantly warm, a thing even more important during multiday trips in wet environments ( eg Scandinavia, Scotland).

Cool conditions 

At the start of the hike, before getting warmed up, I wear it as an outer layer on top of my hiking shirt.

Mild conditions 

In areas with more exposure to the cold ( eg ridges, passes ).

Characteristics 

Lightweight fleece jackets are available in a variety of qualities and styles. Usually – but not always – the pricier models use fabrics that are lighter, wick better and are sufficiently – and not excessively – warm.

For hiking the below characteristics are important:

Weight 

A fleece weighting less than 200gr/m2 is considered lightweight.

Comfort 

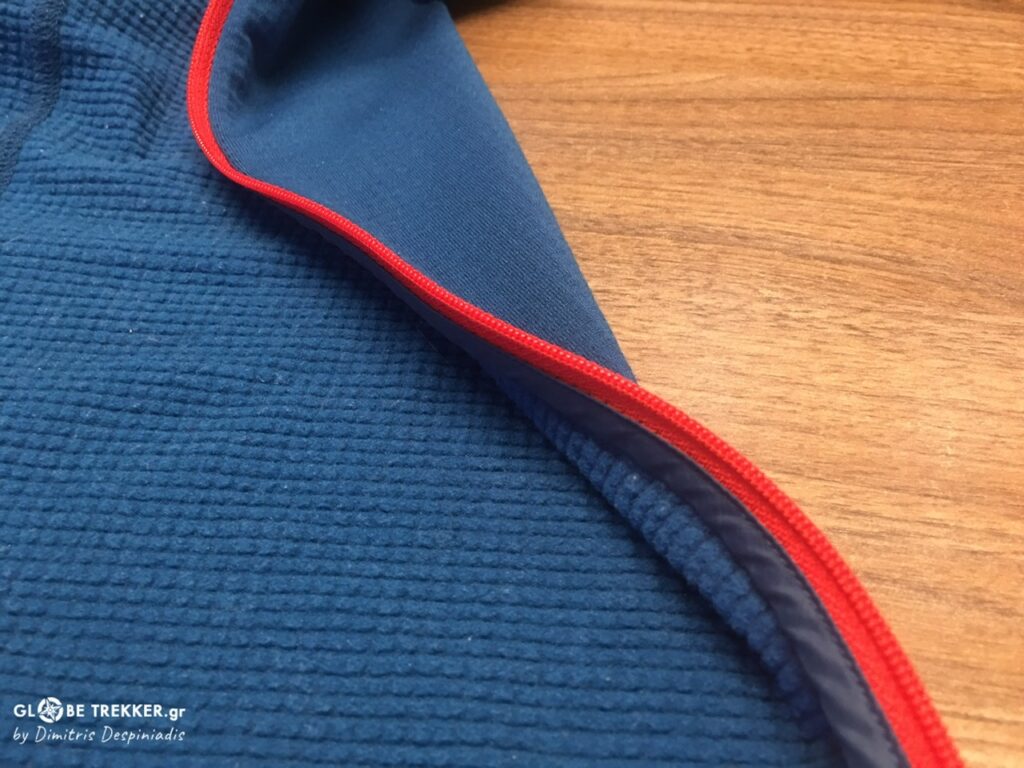
It should have elasticity in order to move freely with the wearer, not restricting his moves. The seams should be flat and soft to prevent irritated skin. The collar should be soft as well to allow the free motion of the neck.

Breathability 

It should excel in moisture management ( allowing sweat to escape quickly ) in order to keep us dry and comfortable while on the move.

Venting

To have at least a half-length zip or – even better – a full one.

Style 

It should have a slim and comfortable athletic fit in order to be easily worn under other layers of clothing.

Durability 

Not all fleece fabrics are equally durable in heavy use. It should feature a modern abrasion resistant technology.

Personal choice 

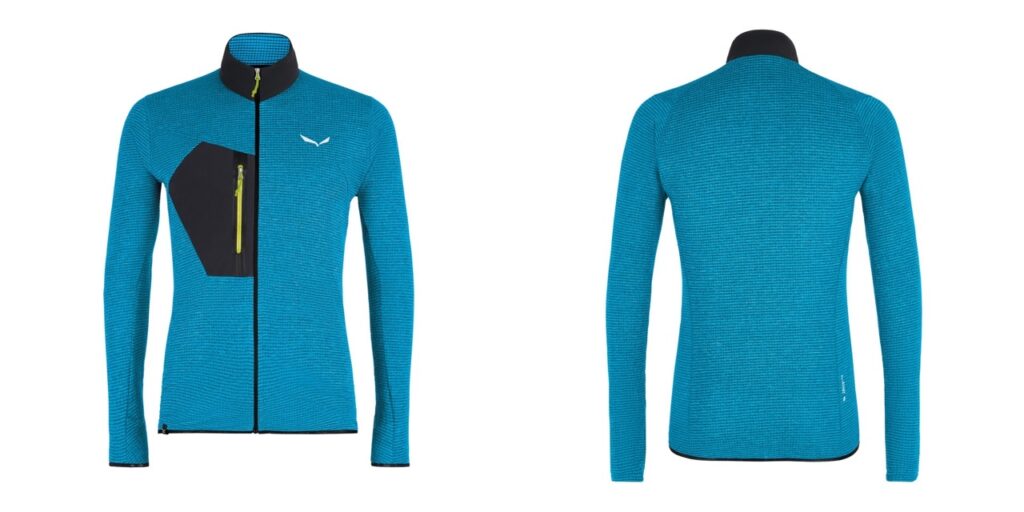
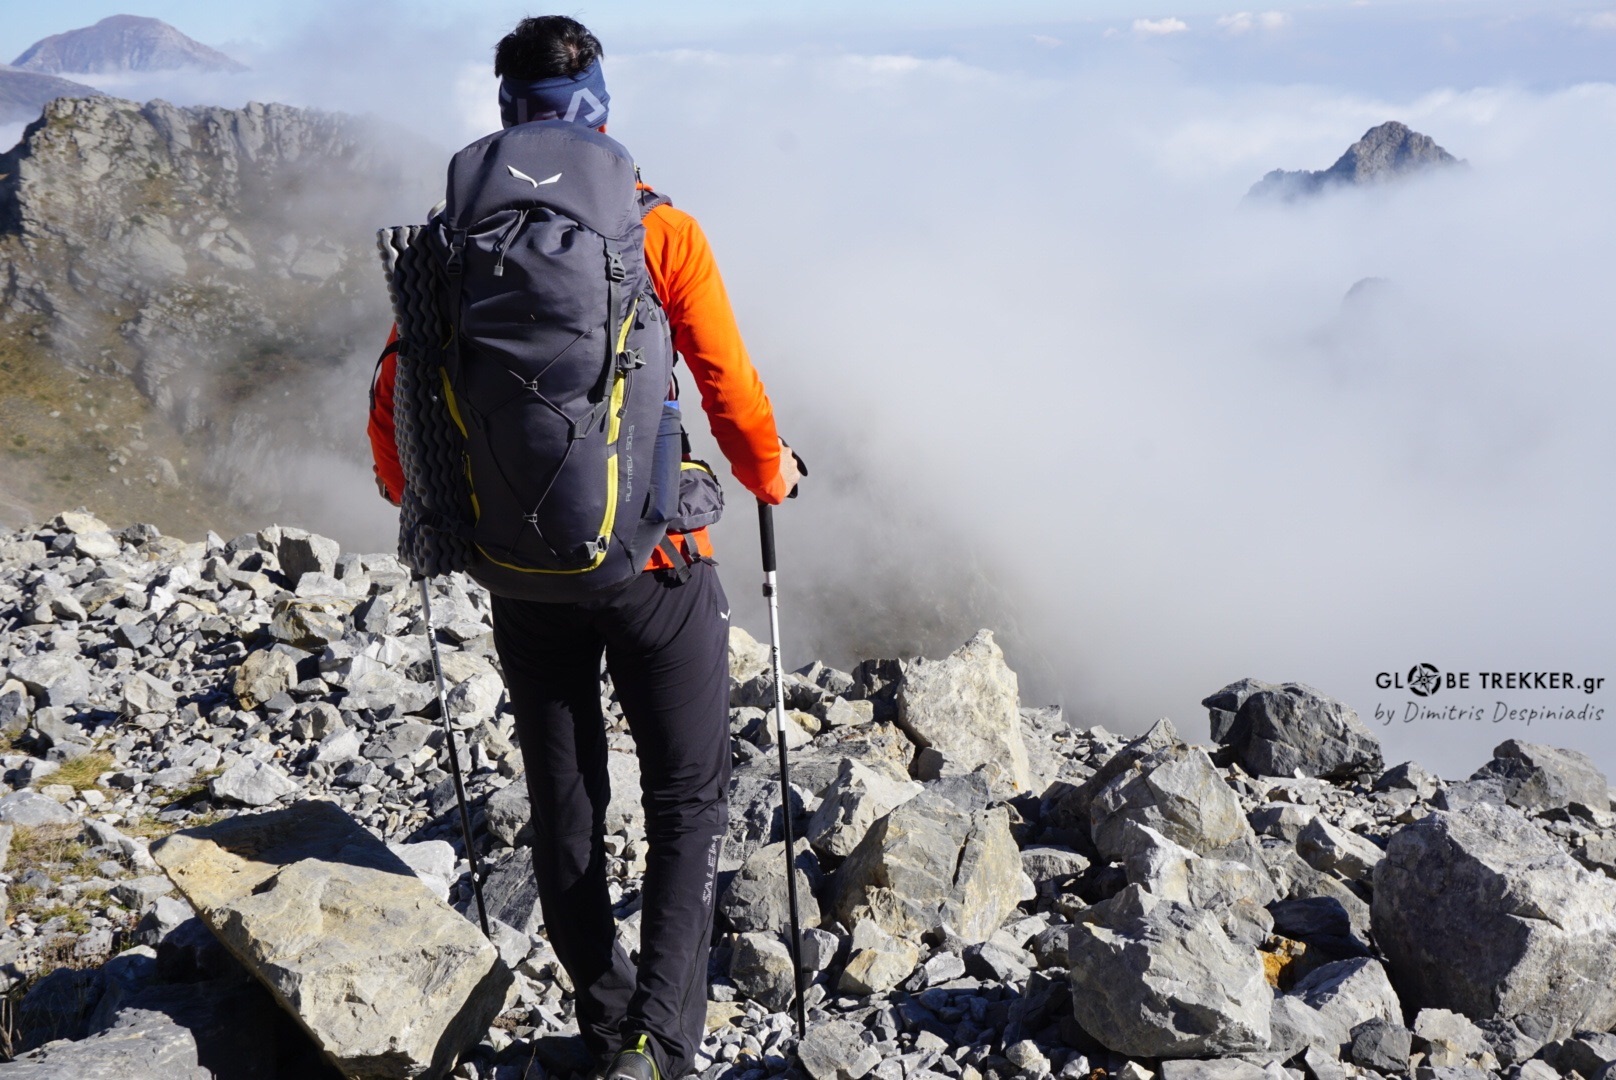
My choice is the technical SALEWA Pedroc Polartec Full Zip Men’s Fleece that ticks all the above boxes and has performed exceptionally during the last 3 years of heavy use.

The new version of the jacket is SALEWA Pedroc Polarlite Men’s Jacket .

If you do not own a lightweight technical fleece, think about it. Products with similar characteristics are readily available. No matter the one you choose, the truth is that a lightweight technical fleece is a very practical “tool” for years of use on hiking and backpacking.

Happy trails! 😊✌️


On every hiking trip – no matter its duration – the stuff carried in our backpacks ( clothes, equipment, food and water supplies ) can contribute – to some extent – to a safe and enjoyable experience.

The way that the pack’s contents are organized does play an important role as well to the quality of the experience.

The article was written having multi-day backpacking trips in mind ( where the equipment used is way more ),  but the tips outlined below can prove useful even for organizing a pack for a day-hike.

Safety / Stability 

First and foremost, everything should be placed – if possible –  INSIDE the pack. A plethora of items strapped to the outside – an image often accompanying people new to hiking / backpacking – should be avoided. 

These items are at risk of being damaged or lost ( dropped ) but most of all they affect our stability, thus compromising our safety in challenging terrain !

A loaded backpack is pulling us backwards, so we automatically lean forward in order to get back to our neutral position. The heavier the pack, the more energy is required to put things into balance.

The backpack’s negative impact on our stability can be minimized by efficient load distribution.

Load distribution 

Bulky but low-density items ( sleeping bag for instance ) should be placed at the bottom of the pack. 

The heavier and denser items should be placed :

  • at the pack’s middle height 
  • close to our body ( against the back panel )
  • centered to the spine, dividing equally the weight on both sides.

In contrary, the lightest and low-density items ( such as clothing ) should be placed:

  • at the top of the pack 
  • away from our body 

Comfort

Waste and shoulders straps should be adjusted in a way that the weight is “resting” more on the hips (~70%) than the shoulders (~30%). During the hike we readjust accordingly in order to release pressure.

Organization 

Similar items ( clothing for instance ) as well as bulkier items ( shelter, quilt / sleeping bag, food supplies ) are better organized in ultralight waterproof stuff sacks !

Ultralight dry sack with clothing for the Pindus crossing ( Greece-September 2020 ).

Items that we’ll probably use during the day’s hike should be stored in external pockets and the top of the pack to be readily accessible, thus to avoid stopping every once and while to open our backpack.

More specifically, our stuff are better organized by height inside the pack as follows:

Bottom 

Bulky but low-density items that we won’t use until setting up camp ( quilt / sleeping bag, air sleeping mat, clothes worn during sleep ).

Middle height 

Our food supplies ( by far the heaviest we carry during multi-day unsupported backpacking trips ), our cooking system, paper maps for the remaining days and our shelter ( if it fits and it’s dry ).

Food supplies -those that could fit on the table- for the unsupported crossing of Iceland ( 2017 ).


Top of the pack 

  • clothing ( with waterproofs, insulating jacket / fleece, gloves and beanie placed on top )
  • first aid kit, toiletries, repair kit 

External pockets 

  • snacks for the day’s hike 
  • water bottle 
  • paper map, compass, GPS
  • sunscreen, lip balm 
  • poop kit ( toilet paper, trowel, lighter, antiseptic hand sanitizer )
  • the tent’s fly ( if it’s wet ). 

Waterproofness

A waterproof liner containing all our stuff should be placed inside the pack – no matter the weather forecast – in order to protect them from getting wet. Backpack rain covers are unreliable in driving rain, so even if we use one, our backpack should be lined as well.

Wet environments… extra protection ( Norway-2019 ).

A reliable and cheap solution that I’ve been using for many years now is a trash compactor bag that can be used for multiple times.

Backpacks: My personal choices 


Thruhikes ( Multi-day trips ) : Salewa Alptrek 55+10L


Full autonomy for up to 2 weeks ( lightweight clothing and camping equipment plus all the food supplies ).


Overnights ( 2-3 day trips ) : Salewa Alptrainer 35+3L 

Autonomy for 2-3 days.


#Speedhiking excursions (day-hikes) : Salewa Ultra Train 22L


Super light and efficient for the short in duration but yet so rewarding day hikes !

Copyright 2017 GlobeTrekker. All Right Reserved.
ΑΠΑΓΟΡΕΥΕΤΑΙ Η ΑΝΑΔΗΜΟΣΙΕΥΣΗ, Η ΑΝΑΠΑΡΑΓΩΓΗ & Η ΕΚΜΕΤΑΛΛΕΥΣΗ ΤΩΝ ΚΕΙΜΕΝΩΝ ΚΑΙ ΤΟΥ ΦΩΤΟΓΡΑΦΙΚΟΥ ΥΛΙΚΟΥ ΤΗΣ ΣΕΛΙΔΑΣ, ΧΩΡΙΣ ΤΗΝ ΕΓΓΡΑΦΗ ΑΔΕΙΑ ΤΟΥ ΔΙΚΑΙΟΥΧΟΥ
Powered by TROPOS BRANDING Co